Obsession Modifications
Quick Release PinsRear Wheel Modification
Modifications: Part II
Modifications: Part III
Modifications: Part IV
This page shows some of the modifications I've made to my telescope. Of course, any Obsession telescope is pretty darn near perfect right out of the box, but any user will find ways to make it just a bit better, a bit easier for him or her to use. And so it is with me.
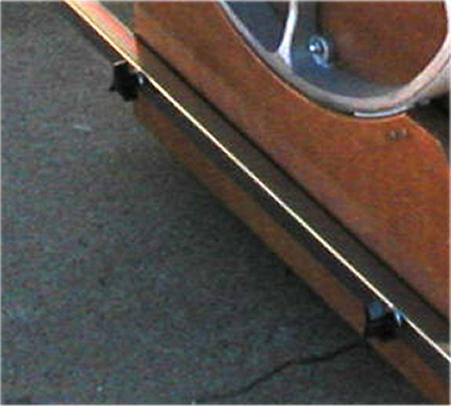
The first modification I made was to replace the method of attaching the wheelbarrow handles to the box. The way they're attached normally is with two knobs on each handle, which screw into the sides of the rocker box, as shown here:
The way I modified mine was to bolt a pair of aluminum right-angle pieces to the box (using the existing holes that the handles used to screw into), then put the handles into resulting the U-shaped channel. The handles are then held in place with quick release pins. This is based on some designs made by other Obsession owners (internet message boards are a wonderful thing!).
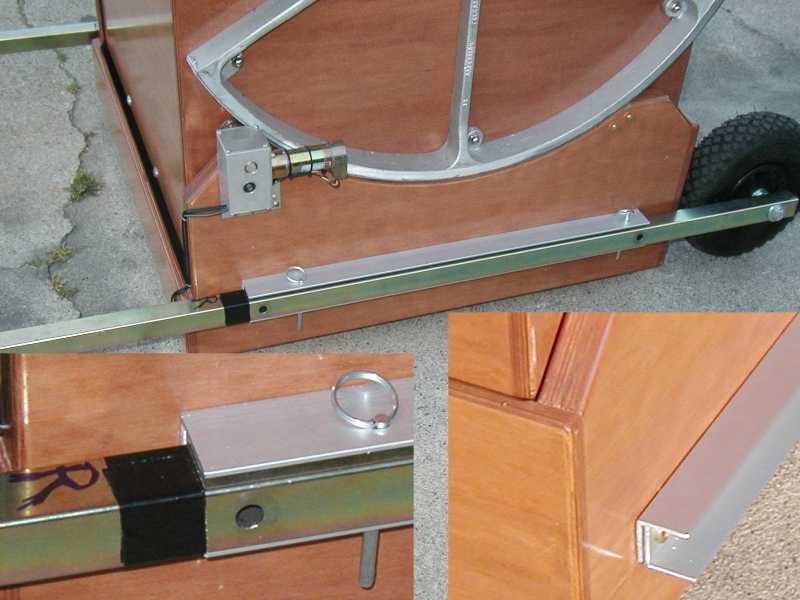
Now the handles go on and come off in a jiffy. As an added bonus, the brackets provide a good mounting point for other modifications used while the telescope is in use (laptop table, battery shelf, etc.) I'll show these modifications when (if!) I get them built.
Sadly, as you can see, I've had to label the handles L and R, since they no longer are interchangeable. My brother and I tried our hardest to make the brackets identical, but our tooling skills aren't what they could be. The holes for the quick release pins don't quite match up if the handles are on the wrong sides. I may attempt to fix this later, but until then I'm going to have to look carefully at the handles to make sure they're the right (or left) ones!
The black tape you see is a visual guide to assist when putting the pins in. It gives an approximate keying mark so that I don't have to slide the handle up and down trying to get the pin holes to line up.
Rear Wheels (aka The Back Saver)
I'm working on adding a second set of casters to the wheelbarrow handles. This pair of casters would be the type that pivot (like on the front of a shopping cart). They will be retractable so that I can easily attach and remove the handles (and wheels) from the scope.The whole purpose of this thing is to save my back when moving the scope into and out of my van. The weight at the ends of the handles is 40 lbs. and that is hard on my back, especially when I'm bent over in my van. Having the scope on four wheels would make things so much easier. I'd just wheel it in and out, like pushing a cart.
So, on Saturday March 20th, my brother Lynn and I started working on this project.

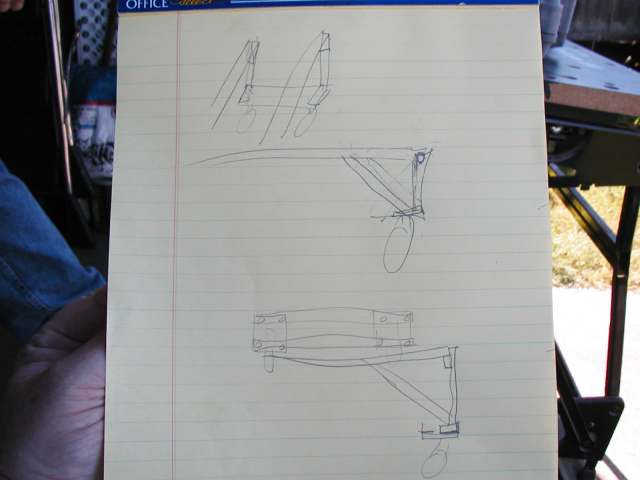
This was the very detailed diagram we worked from during the actual construction. ;)
I wanted to do this as much "on the cheap" as possible, so on Friday I hit the recycling
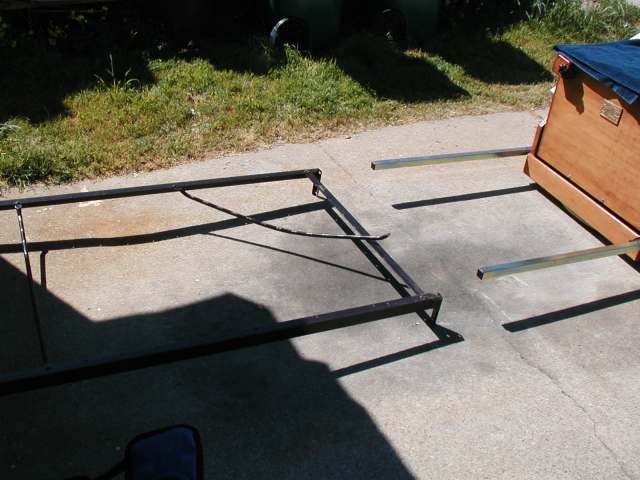
center for raw materials. Five dollars secured me an old bedframe.
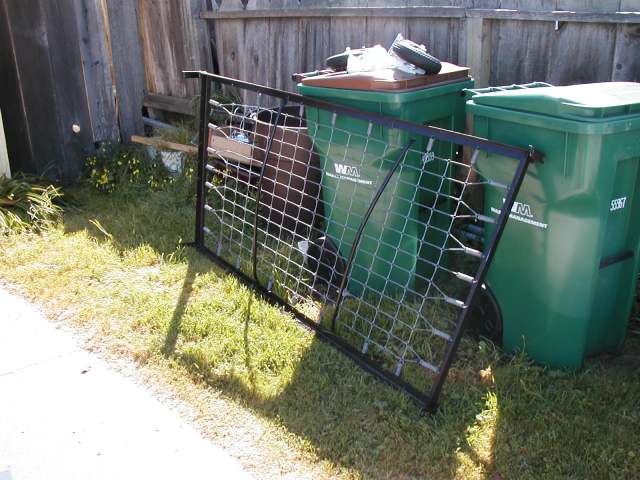
The first steps were to strip the frame of the springs, then separate it into its
component parts.
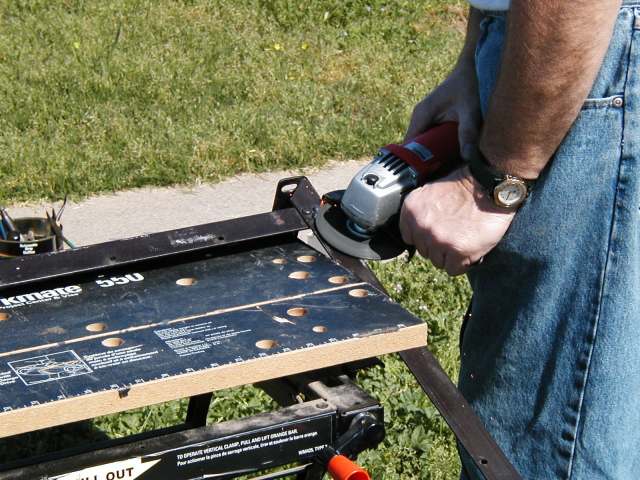
Since the frame had been riveted together, we made use of my brother Lynn's
angle grinder to remove the rivets.
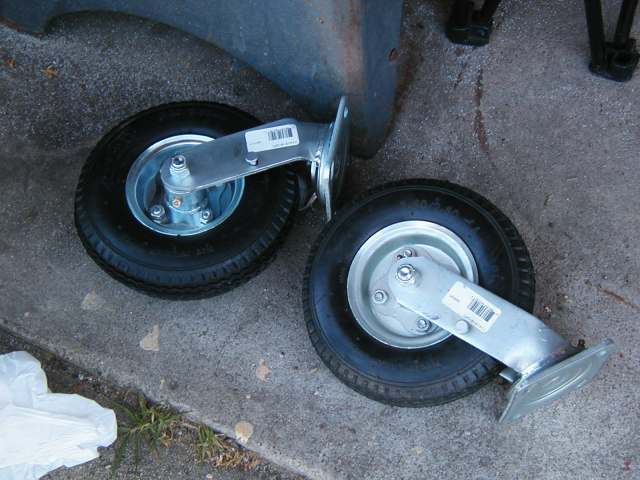
Here are the casters I bought for the project. These babies can handle far more
weight than the scope, so I have no worries that they'll fail under load.
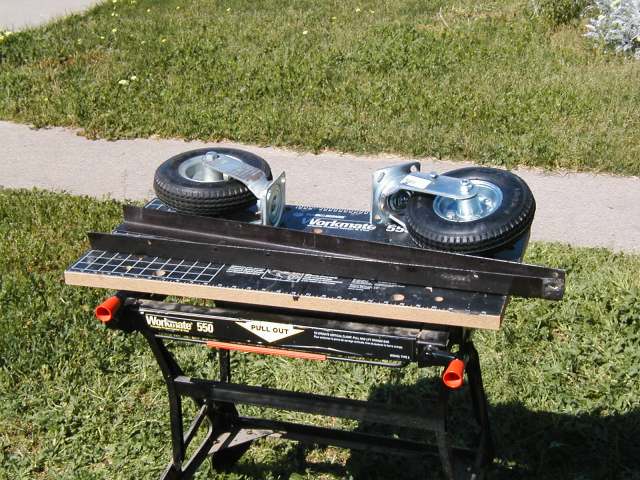
Here are the various parts of the wheel frame, ready for assembly.
When it came time to drill the holes to mount the casters, we found out just how
tough this steel really is. You wouldn't think bed frame steel would be all that
hard, would you? Well, you'd be wrong. We burnt out 3 or 4 of Lynn's drill bits
trying to put holes in this stuff. Eventually we went to the hardware store and
bought a special drill bit made especially for very hard steel. We finally got the
holes drilled, and I mounted the casters.
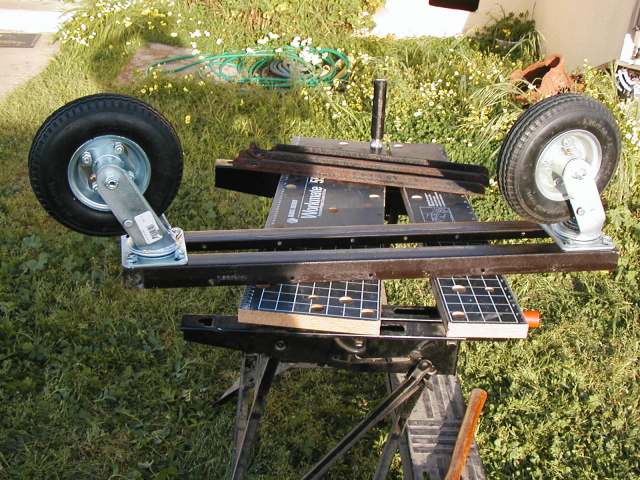
That's as far as we got that Saturday. Lynn has a friend who owns a welder, and
we're hoping that he'll help us with the rest of the frame. I'd feel better if it
was welded, rather than bolted together, since I expect that there will be some
might big stresses on the pivot points and the points where the wheel frame is
attached to the rest of the frame.
Modifications: Part II